by dnshah | Jul 1, 2020 | Health and Wellness Tips, Virus
For many of us in Gulf coast states like Texas and Louisiana, for a few more weeks we are overcast with dust from the Saharan regions. This is a reoccurrence, but now it is providing another dimension of respiratory distress. This moving dust, for some folks, can cause symptoms that resemble COVID19 symptoms (dry coughs, wheezing, shortness of breath, and/or mild chest pain). The difference between the Saharan dust symptoms and COVID symptoms is that the dust shouldn’t really cause fever, muscle aches, GI issues, nor loss of smell. It’s important to be aware of this difference, as it can mean the difference in time management of getting to a doctor for guidance.
We don’t need to take the extra precaution of not going outside during this time; it’s important to be outdoors, take in the sunlight, get physical movement, and feel free and “normal.” That said, it is important to put on a cloth mask during this time because the mask may help prevent some dust irritants from getting into your respiratory system. So double-duty function for the cloth masks for now! It may be prudent to not spend excessive time outside – just until the dust settles! It is anticipated to settle by mid-July, 2020

by dnshah | Jun 15, 2020 | Recipes, Side Dish
- Make the water kefir (2 days)
- Make the sourdough starter. (3+ days)
- Make the bread. (16-18 hours): 2 varieties provided for your choice.
Part 1 Make Water Kefir
INGREDIENTS
1 quart water
15 raisins
2-3 Tablespoons water kefir cultures (store bought)
2 Tablespoons Sugar
1 slice lemon
METHOD
- Put 1 quart of water into a jug.
- Stir in sugar until dissolved.
- Stir in water kefir culture.
- Add raisins and lemon slice
- Cover with paper towel or cloth and secure with rubber band.
- Ferment 1-2 days at room temperature, until raisins float up to top.
- Pick out the fruit with a spoon, and discard (optional).
- Taste to ensure sweet and sour – but more sour. Leave to ferment further (6-12 hours) to ensure it is more sour.
- Cover and refrigerate when desired ferment is reached.
- NOTE: cultures are settled to bottom and mixture lasts 1 month refrigerated. The last inch of water and cultures can be re-used into a new batch of kefir water
- NOTE: I am freezing mine and expect that it can last 6 months.
Part 2 Make GF Thick Sourdough Starter
INGREDIENTS – CREATE STARTER (5-7 days)
DAILY – 1 cup (120g) GF flour mix (sorhum + teff/ brown rice/ buckwheat)
DAILY – 1cup spring water/distilled water/ filtered water (minimize chlorinated)
INITIALLY – 2 Tablespoons water kefir (first day only)
INGREDIENTS – REFRESH STARTER (indefinitely ever week: before/after using)
WEEKLY – ½ cup gum-free GF flour (think about flavor and color for the final baked good)
WEEKLY – ½ cup spring water/distilled water/filtered water (minimize chlorinated)
METHOD – CREATE STARTER (10 days)
Morning of Day One: Beginning. In a nonreactive container like a glass or ceramic jar, place ½ cup (about 60 grams) whole grain gluten free flour(s) and ½ cup (4 fluid oz) spring or distilled water and kefir. Using a nonreactive mixing spoon (like a wooden or silicone spoon), mix to combine well. Cover the container loosely, and allow to sit on the counter at room temperature for 8 to 12 hours.
Evening of Day 1: Building. Remove the cover of the container, and add another ½ cup (about 60 grams) whole grain gluten free flour(s) and ½ cup (4 fluid ounces) spring or distilled water. Using a nonreactive mixing spoon (like a wooden or silicone spoon), mix to combine well. Cover the container loosely, and allow to sit on the counter at room temperature for 8 to 12 hours.
Morning of Day 2: Building. Remove the cover of the container, and add another ½ cup (about 60 grams) whole grain gluten free flour(s) and ½ cup (4 fluid ounces) spring or distilled water. Using a nonreactive mixing spoon (like a wooden or silicone spoon), mix to combine well. Cover the container loosely, and allow to sit on the counter at room temperature for 8 to 12 hours.
Evening of Day 2: Building. Remove the cover of the container, and add another ½ cup (about 60 grams) whole grain gluten free flour(s) and ½ cup (4 fluid ounces) spring or distilled water. Using a nonreactive mixing spoon (like a wooden or silicone spoon), mix to combine well. Cover the container loosely, and allow to sit on the counter at room temperature for 8 to 12 hours.
Morning and Evening of Days 3 through 7 and beyond: Building and/or Discarding/Building: Remove the cover of the container, and inspect the contents by tapping the jar on the counter to see if bubbles begin to break the surface of the mixture, and smelling it to see if it has any sour odor at all. If it does bubble and have an odor, discard any relatively clear liquid that has accumulated on top (called “hooch”) + about ⅓ of the volume. Then feed it: Add another ½ cup (about 70 grams) gum-free gluten free flour and ½ cup (4 fluid ounces) spring or distilled water. Using a nonreactive mixing spoon (like a wooden or silicone spoon), mix to combine well. If it doesn’t bubble and have an odor, do not discard but feed with ½ cup whole grain flour and ½ cup water as directed above. Cover the container loosely, and allow to sit on the counter at room temperature for 8 to 12 hours.
Refreshing your active starter. An active starter can be used for baking, then refreshed and stored, covered, in your refrigerator for about a week. After about a week, you should refresh it by removing it from the refrigerator, discarding about ⅓ of the volume (including any clear liquid or hooch from the top), adding ½ cup (70 grams) gum-free gluten free flour and ½ cup (4 fluid ounces) spring water or distilled water, and mixing with a nonreactive spoon. Cover the starter and allow it to sit on the counter for about 12 hours before returning it to the refrigerator. Repeat the process every week for the life of the starter.
NOTE: I refresh mine every Friday evening; and instead of wasting the discarded volume – use it for activating the starter for baking a new loaf.
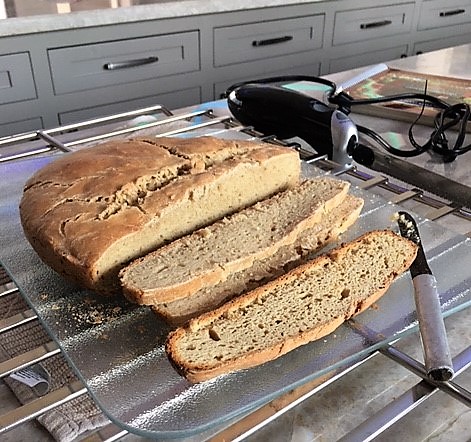
Part 3 Make GF Sourdough Bread (variation#1 Sandwich Bread Style)
Yield: 1 loaf bread
Best Timings: You can feed your active starter tonight, and leave it out on the counter, loosely covered. Then, when you wake up tomorrow morning, make the bread dough and set it to rise during the day. When you’re about an hour away from dinnertime, bake the loaf and enjoy.
Substitutions:
DAIRY: I use unsweetened non-dairy milks, like pea milk (Ripple). I use butter; but suppose you can replace with a nondairy replacement. I think using ghee may be ideal if you are lactose or whey-sensitive. I don’t think oil will work well instead of butter – changes texture.
INGREDIENTS for Activating Starter:
½-¾ cup cold sourdough starter
½ cup (160 g) GF all-purpose flour
½ cup (225 g) filtered water, @ room-temp
INGREDIENTS to prepare dough
2-½ cups (420 g) GF all-purpose flour (Better Batter)
1-½ teaspoons xanthan gum (omit if your blend already contains it)
1-½ cups (12 ounces) warm milk (about 95°F), plus more by the tablespoon
½ cup (70 g) tapioca starch/flour
4 tablespoons (56 g) unsalted butter, at room temperature
2 tablespoons (25 g) granulated sugar
1-½ teaspoons (9 g) kosher salt
METHOD for Activating Starter 1 Night Before (7pm-ish)
- In a large bowl, stir together the sourdough starter, brown rice flour, and water.
- Cover the bowl with plastic wrap, and set aside at room temperature for 8 – 10 hours, or overnight, until bubbly.
NOTE: There may be some separation, with the top being thick and the bottom more liquid – this is normal.
METHOD for Prepare the Dough (> 4am-ish)
- Grease a standard 9-inch x 5-inch loaf pan and line with parchment paper. Set the pan aside.
- In the bowl of a stand mixer fitted with the dough hook attachment, mix in the GF all-purpose flour, xanthan gum, tapioca starch/flour, granulated sugar, and salt.
- Add in the starter, 1-½ cups of milk, and the butter, and beat on medium speed to combine. This is a batter-style bread dough, so it won’t resemble traditional bread dough, but rather a soft cookie dough. Turn the mixer up to medium-high speed and beat until the dough has taken on a whipped appearance (about 5 minutes). The dough should be tacky to the touch, but should hold its shape when scooped. If your dough feels at all dry to the touch, add more milk by the tablespoon, beating it in until well-combined, until the proper consistency.
- Transfer the dough to the prepared loaf pan. Using a moistened spatula, press the dough into every corner of the loaf pan and spread the top into an even layer. For a more traditional loaf shape, pile the dough a bit more toward the center in a dome. Cover the loaf pan with lightly oiled plastic wrap and allow it to rise in a warm, draft-free place until it’s reached about 150% of its original size, at least 4 hours. It will not fully double in volume, and will rise more in the oven than it does raw. Even traditional yeast bread dough will take longer to rise properly in colder, drier weather and less time in warmer, more humid weather. This wild yeast sourdough bread will take longer to rise than any other, and will depend in part upon the age of your starter.
Rising Tip: This bread dough is much less likely to over proof (pock-marked appearance) so if you’re unsure about whether or not the bread has proofed enough, allow it to keep rising.
- When the bread is nearing the end of its rise, preheat your oven to 400°F. Remove the plastic wrap and, using a sharp knife or lame, slash the top of the loaf from one short end to the other about 1/4-inch deep. Place the pan in the center of the preheated oven and allow to bake for 30 minutes.
- Reduce temp to 350°F, rotate the pan 180° around, and continue to bake until center of the loaf reads 200°F on an instant read thermometer (about 30 minutes more). The crust won’t darken very much, but the loaf should sound hollow when thumped quickly with a finger. Remove the pan from the oven and allow the bread to cool for about 10 minutes in the pan before transferring to a wire rack to cool completely before slicing and serving.
- To freeze the bread, cool the loaf completely, then slice, wrap tightly and freeze the slices. Defrost as many slices at a time as you need in the toaster.
Alternate Part 3 Make GF Sourdough Bread (variation#2 NEW)
Makes 2 Boules
INGREDIENTS for Activating Starter:
1 cup (280 g) cold sourdough starter
1 cup + 2 Tbsps (160 g) brown rice flour
1 cup (225 g) filtered water, @ room-temp
INGREDIENTS for the Dough:
1 ¾ cups (210g) GF oat flour, plus some for dusting
1 cup (120 g) tapioca starch
¾ cup (210 g) potato starch
1 cup minus 1 tablespoon (120g) millet flour
2 teaspoons kosher salt
¼ cup (40 g) psyllium husk powder
¼ cup (25g) flaxseed meal
3 cups (700 g) filtered water, at room temperature
METHOD for Activating Starter 1 Night Before (7pm-ish)
- In a large bowl, stir together the sourdough starter, brown rice flour, and water.
- Cover the bowl with plastic wrap, and set aside at room temperature for 8 – 10 hours, or overnight, until bubbly.
NOTE: There may be some separation, with the top being thick and the bottom more liquid – this is normal.
METHOD for Prepare the Dough (> 4am-ish)
- In the bowl of a stand mixer, whisk together the oat flour, tapioca starch, potato starch, millet and salt.
- In a large bowl mix together the flaxseed and psyllium husk powder and water. The mixture will quickly become thick and gel-like.
- Add this to the dry flour blend along with the sourdough starter.
- Mix with a dough hook medium speed until the dough comes together and all the flour has been incorporated, about 3 minutes.
- Transfer the dough to a lightly floured surface, and cut into two equal pieces (about 2 pounds each).
- Knead each piece lightly, shaping into a ball. The dough should be moist, and hold its shape.
- Dust 2 Dutch ovens with a little flour. Gently transfer the dough rounds into the Dutch ovens with the dough seam facing up.
- Cover the Dutch ovens loosely with plastic wrap and place in a warm spot (ideally between 70 – 75 degrees F) I put it in the oven with the light on. Proof for 3 hours. The dough is ready to bake when it feels springy and soft.
- Approximately 10 minutes before baking, preheat the oven to 500 degrees F.
- Score the dough top two or three times and dust lightly with flour, and add a couple of ice cubes to the side of the dough in each pot.
- Cover the pots with their lids and bake the dough for 45 minutes.
- Uncover, reduce the heat to 450 degrees F, and bake for an additional 50 minutes, until the crusts are dark and the bread sounds hollow when tapped.
- Transfer the boules to a cooling rack, and let them cool COMPLETELY before cutting. This is very important because cooling allows the crumb to set. If you cut too son, the bread will collapse and become gummy. Be patient.
- Store the bread in a brown paper bag at room temperature. It is best eaten within 2 days. You can also freeze the bread once completely cooled for up to 3 months.

by dnshah | May 30, 2020 | Health and Wellness Tips
Based on the blog of Dr. Michael Gregor
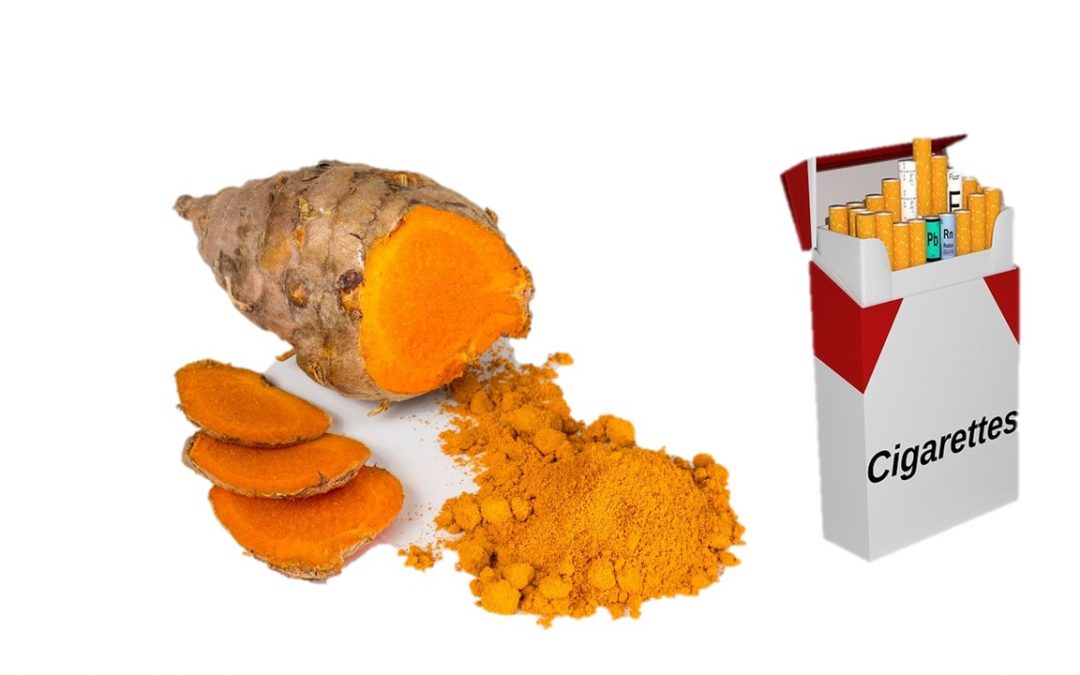
There are plant-based items that have properties to help prevent cancer, and curcumin (present in turmeric root) is one of these. Turmeric is one of many Indian spices used throughout Asia. It has been used for centuries – both eaten and used topically because of its anti-bacterial and anti-viral properties also.
Currently curcumin is undergoing clinical investigations for cancer chemoprevention. It is a substance that seems to belong to 3 different subgroups of chemo-preventive agents:
- Anti-proliferative – blocks cancer transformation and proliferation
- Antioxidant – neutralizes free radicals; anti-mutagen (even before carcinogens get into cells)
- Carcinogen-blocking – blocks invasion
Most investigations had been performed in labs (due to the difficulty of finding human volunteers that would willingly expose themselves to toxins), but then a human investigation involving smokers (smoke was the toxin/mutagen looked at)was conducted which showed the power of curcumin to reduce the DNA damaging power of carcinogens.
In this investigation with smokers & non-smokers, half of each consumed plain turmeric (1 teaspoon/day) and the other half didn’t consume turmeric. They all peed on some bacteria, and then the DNA mutations in the urine were measured. It’s no surprise that the urine of non-smokers caused far fewer mutations as they have far fewer chemicals running through their system. But the smokers that ate turmeric, showed fewer urinary mutations after only 15 days, and even less after 30 days. The DNA-damaging power of smoking began diminishing. But it should be noted that the best way to diminish that DNA damaging power is not to smoke.
In today’s age of COVID19, I encourage all smokers to reduce and gradually stop the habit – and definitely add plain old turmeric to your diet. Please remember to consult with your doctor before adding ANYTHING to your regular diet.

by dnshah | May 30, 2020 | Health and Wellness Tips
My clients go through a session with me where we talk about ensuring the right kitchen tools and utensils and devices. After all the kitchen tools determine how easy it becomes to prepare foods… which is YOUR best fuel source because it’s homemade and fresh. The easier it is to get in/out of the kitchen, the more likely that the fuel source remains optimal.
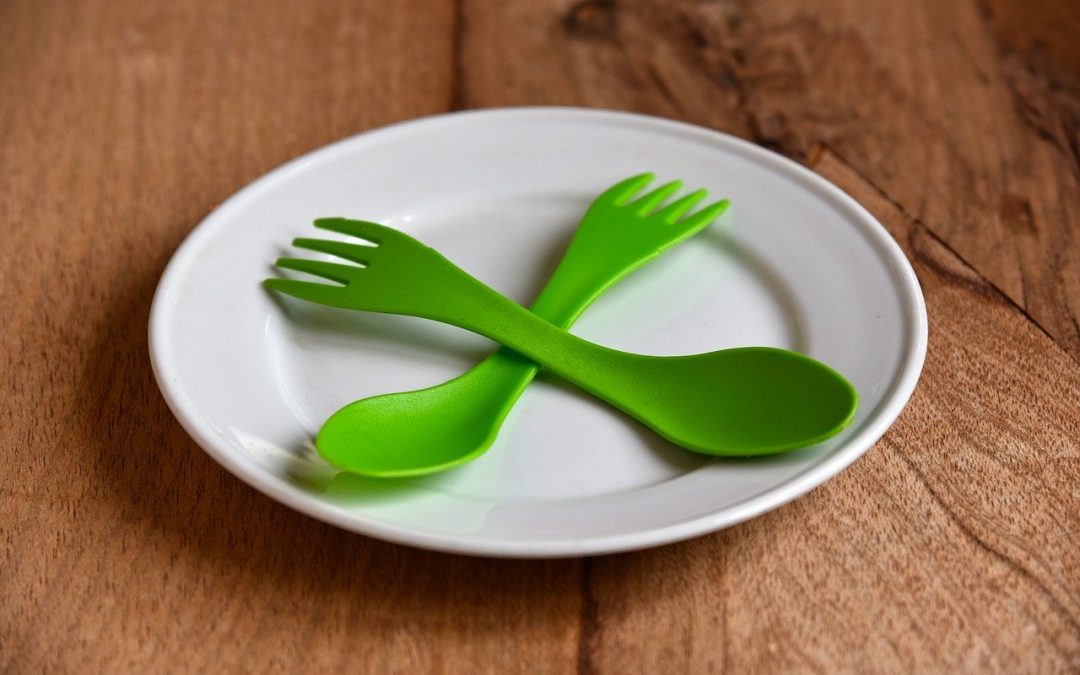
Over the last few years, I’ve been reading about the dangers of melamine. It’s a sturdy plastic substance used throughout the world for cuts, plates, bowls, and utensils. It’s dishwasher safe and affordable, so very popular. I saw it being used for EVERYTHING in Asia, and was reluctant to use it because I’m familiar with chemical leaching when using hot foods/drinks on plastic. The designs and colors are so fabulous that everyone was buying and using this ultra-convenient substance. So, I gave in and decided to only use it for foods/beverages that were not hot.
Unfortunately the latest studies show that my decision was a bad one, and this blog is going to continue making melamine a bad word…. Read on.
- In 2007 melamine was illegally added to pet foods to “enhance” protein counts in nutrition labels. It causes early disease and deaths for pets in North America. What did we learn? That people will do anything to make money, including put harm in our loved ones’ way.
- In 2008 melamine was discovered to be the CAUSE of an outbreak of kidney stones and kidney failure for infants & young children in China where it was used in infant formula and powdered milk to “enhance” protein counts… hundreds of thousands were negatively impacted.
- In 2010 I noticed melamine dishware being sold in stores in the US with no warnings about chemical leaching. I knew that using it with hot foods and beverages were a no-go; I also knew that using it in the microwave was not a good idea. What I didn’t realize is that there is chemical leaching into foods that are warm also. Why is this important? Because even low levels of melamine exposure “is significantly associated with kidney function deterioration…”
So, today I lean more on other tableware sources like glass, ceramics, porcelain, and stainless-steel. In fact if you were to come to my home for dinner, I might actually serve you a traditional Indian meal in stainless steel plates, bowls, and glasses! These traditional Indian tableware has stuck with me since the beginning of time, and I love them.
In the last decade, silicone has become a major player in spatulas, ladles, and other utensils. This is far better than the plastic predecessors, which leached chemicals into hot foods.
The take-away is that if you haven’t had a kitchen tool make-over in a while; there are much better materials out there now for table-ware and utensils. Splurge and do the make-over. Your improved health will be thanks enough!

by dnshah | May 30, 2020 | Health and Wellness Tips
Based on Dr. Erin Bromage’s blog and facebook live with Dr. Vira & Darshi Shah
Many people are getting back into a pseudo-normal routine, which involves getting out a bit more, seeing friends, and socializing. It was evident in the crowds over Memorial Day weekend at beaches, local sports matches, and celebrations.
As we continue in the direction of pseudo-normal, it is socially responsible to better understand where most of the prior infections had come from, and not give the virus more fuel. Here are where the most infections came from:
- In your home – a member of the house got it and brought it home
- Not so much from grocery stores, bike riding, running
To understand why/how people get sick, remember the formula:
Successful Infection = Exposure to Virus x Time
So it’s more about how much exposure (virus particles) have you gotten, and how much time have you been exposed to them.
It seems that we need at few as 1000 SARS-CoV2 particles on ourselves to be at risk of virus contraction. So as we put ourselves into different environments, we just need to know which activities give us these particles and how much to best assess our risk.
- Breaths release 50-5000 droplets into the air. Most fall to the ground quickly. This is equivalent to 33 viral particles / minute from an infected person. So in 30 minutes of being in the same room as someone infected and breathing air, you could have 1000 virus particles.
- Speaking releases 10x more than breathing. This is equivalent to 330 viral particles/minute from an infected person. So in 3 minutes of speaking to someone infected, you could have 1000 virus particles. And then, anyone you speak with face to face for more than 3 minutes is also at risk. Remember you shed the virus for up to 5 days before showing symptoms.
- Coughs release about 3000 droplets into the air at 50mph.
- Face to face with in infected person: This is equivalent to up to 200,000,000 virus particles in the air, and is sufficient to infect a whole room of people.
- Sneezes release about 30,000 droplets into the air at up to 200mph.
- Face to face with in infected person: This is equivalent to up to 200,000,000 virus particles in the air, and is sufficient to infect a whole room of people.
- Recent thought is not putting much emphasis on groceries being “cleaned” before storing; but in the logical thought of calculating particles from fomite transfer, we’ll still consider the amount of virus one is being exposed to through touch. So caution high fomite risk areas like public restrooms & toilets.
Now it is easier to understand how most of the previous outbreaks worked. In the US there were major outbreaks in meat packing plants, nursing homes, prisons, call centers, and work offices. What are the commonalities? Densely populated indoor areas that require communication, often times in areas where people have to project their communication over other noises (machinery, other phone calls, hard of hearing, etc.)
Point forward, as we meet others and dine out, we need to keep in mind the ways that we put ourselves at risk for virus particles.
- Restaurants: keep in mind where you are sitting relative to others AND the direction of the vents circulating the air. And of course how long you stay there.
- Offices: watch how you project your communication to others, and how you receive it.
- Choir: Singing is a projection of communication and it aerosolizes the respiratory droplets, and it also brings in your air deep into your lungs. Choir practice in a confined room with multiple people is not a great idea during this pandemic.
- Birthday Parties/Funerals: congregating with masses of people who are speaking to one another, and the chance of anyone sneezing or coughing is a huge risk overall.
What to Avoid?
- indoor spaces (total volume of air space)
- limited air exchange or recycled air
- lots of people
- prolonged time
- temperature


